
How to Play Raid: Shadow Legends on PC
Raid: Shadow Legends is a popular mobile RPG game that has captivated the hearts of gamers worldwide with its immersive gameplay and stunning graphics. While it’s primarily designed for mobile devices, many players prefer the larger screen and enhanced performance of playing it on a PC.
In this guide, we’ll walk you through the simple steps to play Raid: Shadow Legends on your PC using BlueStacks, a trusted Android emulator.
What is BlueStacks?
Before we dive into the installation process, let’s briefly introduce BlueStacks. BlueStacks is an American technology company headquartered in San Francisco, California. It specializes in creating Android emulators that allow you to run Android applications on PCs running Microsoft Windows and macOS. BlueStacks is not only free but also known for its performance and safety, making it the ideal choice for playing Raid: Shadow Legends on your computer.
Installation Steps
Now, let’s get started with the step-by-step guide on how to play Raid: Shadow Legends on your PC using BlueStacks:
Step 1: Download BlueStacks
- Go to the official BlueStacks website by clicking here.
- On the BlueStacks website, you’ll find an option to “Download BlueStacks” or “Play Raid: Shadow Legends on PC.” Click on this option to start the download process.
- Wait for the download to complete. Depending on your internet connection, this may take a few minutes.
Step 2: Install BlueStacks
- Once the download is complete, locate the downloaded BlueStacks installation file. It is typically found in your computer’s “Downloads” folder, but the location may vary depending on your web browser settings.
- Double-click on the BlueStacks installation file to run it. This action will initiate the installation process.
- In the installation window, you have the option to customize the installation folder. If you want to select a specific location on your computer where BlueStacks will be installed, choose “Customize Installation.” Otherwise, you can proceed with the default settings by selecting “Install Now.”
Step 3: Launch BlueStacks
- Once the installation is complete, BlueStacks will automatically open. You’ll be greeted with a home screen that resembles the interface of a smartphone.
Step 4: Access Google Play Store
- Click on the “Play Store” icon within BlueStacks to open the Google App Store.
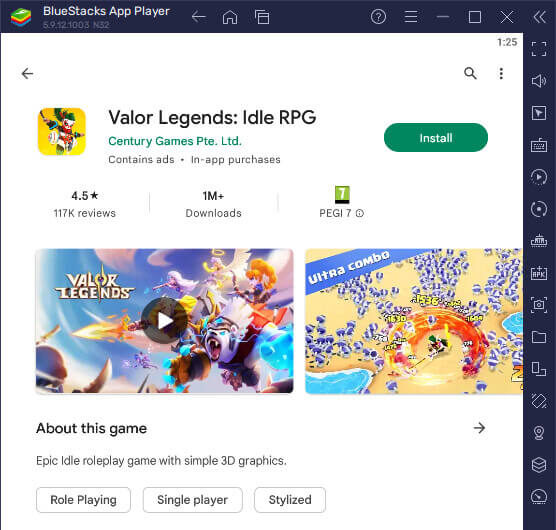
Step 5: Search and Install Raid: Shadow Legends
- In the Google Play Store, use the search bar to look for “Raid: Shadow Legends.”
- Once you find the game, click on the “Install” button. The game will begin downloading and installing on BlueStacks.
Step 6: Launch Raid: Shadow Legends
- After the installation is complete, you can choose to play the game directly from the Play Store by clicking “Play.” Alternatively, return to the home screen by clicking the home icon and then click on the Raid: Shadow Legends icon to start the game.
Step 7: Enjoy the Game!
- Congratulations! You’re now ready to embark on your epic journey in Raid: Shadow Legends on your PC. Enjoy the game on the larger screen and enhanced performance that a PC provides.
In conclusion, playing Raid: Shadow Legends on your PC is a straightforward process thanks to the reliable BlueStacks Android emulator. Whether you’re a new player or a seasoned adventurer, this guide will help you make the most of your gaming experience on your computer. So, dive into the world of Teleria and conquer your foes with ease on the big screen!